Installing Fedora 35 on Macbook Pro 13 inch (late 2011)
This weekend I decided to update my old Macbook Pro 13 inch from late 2011, with 125GB SSD and 8GB RAM. It’s a machine I’ve taken on trips around the world and back in the day ran many a session, workshop, or demo on sharing all that AppDev goodness you know from JBoss technologies.
Last time we checked, this was installed using Fedora 33, so how about an update to Fedora 35?
Below the steps and adjustments needed to get Fedora 35 working on this laptops in under an hour.
Get Fedora 35
I got on my other Macbook and visited the Fedora Workstation site where you find a link to Fedora Media Writer. Just click on the icon (in my case, the apple) for your machine type and you get an installation package.
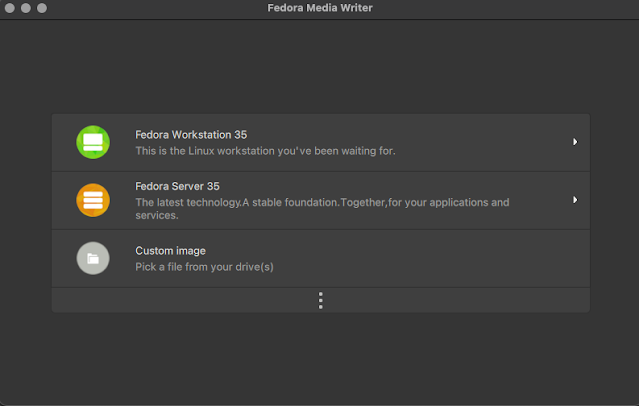
Install this and start it to see the GUI that guides you through the process. Select the Fedora Workstation 35 option:
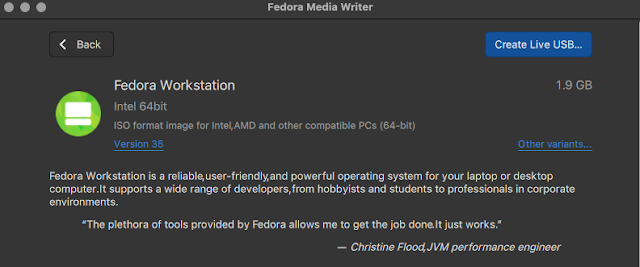
Next you can select the top right button to Create Live USB option:
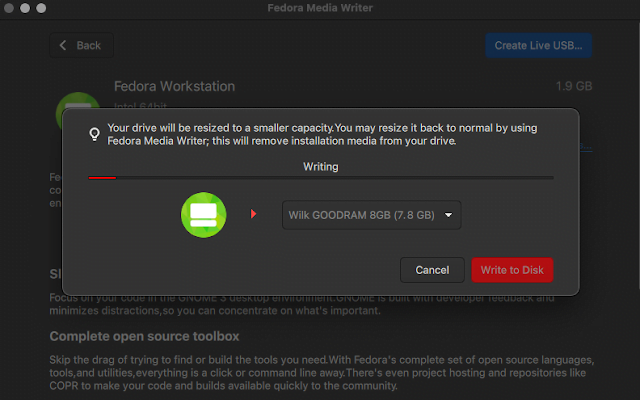
Then you’ll see the image start to download and the drop down menu for selecting where to install the image. If you now plug in an USB stick with the right size available, you can select and install the image directly onto the USB device:
Once finished just close this GUI and remove the USB stick.
Installing on Macbook Pro 13 inch (late 2014)
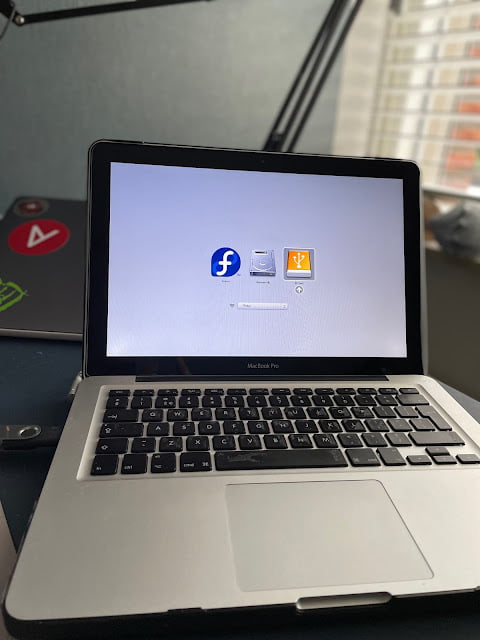
Insert the USB stick you created above, there is a port on the left side for this, (re-)start your Macbook Pro and be sure to hold down the Option (or alt) key, just to the left of the CMD key. This opens a menu of options to start this machine from and we’ll need to use the EFI option as that’s our USB image.
Now it’s booting from the device and you just can follow the normal Fedora installation. It really helps if you have a network cable connection you can plug your Macbook Pro into as the wifi device (broadcom) does not work out of the box.
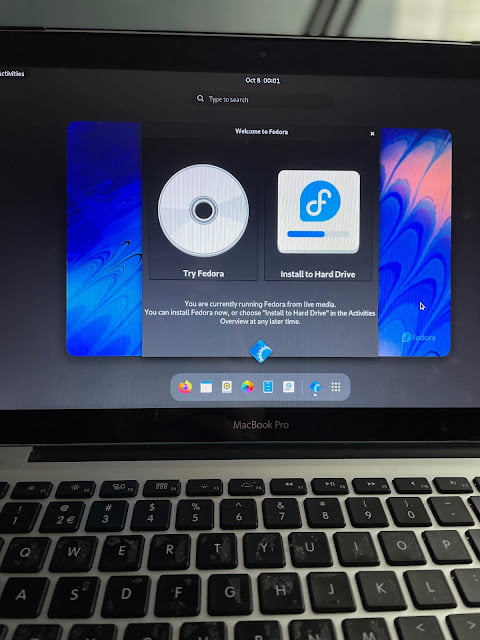
You should get the chance to install to hard drive and put it on your machine permanently.
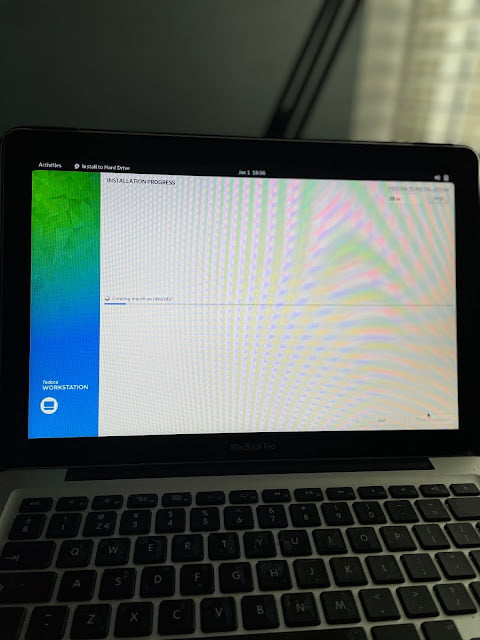
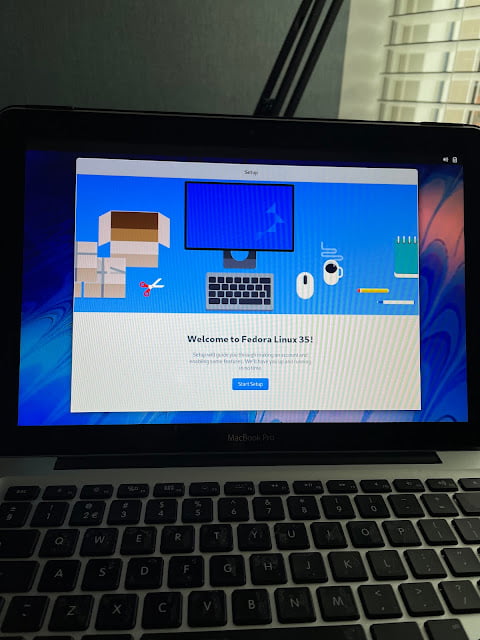
Once you’ve completed the installer, reboot your machine and you should see Fedora 33 as the option to boot from and end up in your new machine.
Now the only thing missing is a wifi driver so there are a few things to be done that require that network cable to be connected as we install the development packages for the kernel we are running and then build the broadcom-wl driver for that kernel.
Let’s verify the actual card we need for wifi in a terminal:
$ lspci -vnn -d 14e4:
The output will be several items, one of which should be listing something like:
Network controller [0280]: Broadcom Inc. and subsidiaries….
Subsystem: Apple Inc. AirPort Extreme…
We now need to install a repository to pull the broadcom stuff as follows:
$ su -c ‘dnf install -y http://download1.rpmfusion.org/free/fedora/rpmfusion-free-release-$(rpm -E %fedora).noarch.rpm’
And then the non-free repository:
$ su -c ‘dnf install -y http://download1.rpmfusion.org/nonfree/fedora/rpmfusion-nonfree-release-$(rpm -E %fedora).noarch.rpm’
The next part is interesting as you look at the running kernel you’ll see v5.15.11-200.fc35 but we are going to be using the development kernel packages to build our broadcom wireless driver so you need to install the v5.14.10-300.fc35 (available at the time of this writing). You can check these using ‘uname -r’ and list the installed kernel packages using ‘sudo dnf list kernel’:
$ sudo dnf list kernel
kernel.x86_64 5.14.10-300.fc35
kernel.x86_64 5.15.11-200.fc35
Install the development packages with the following:
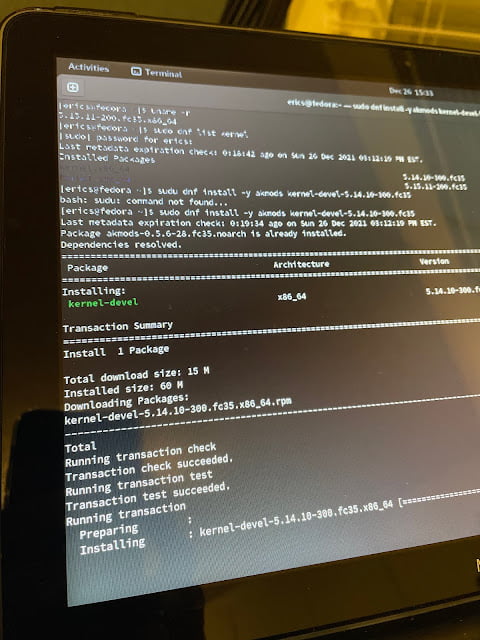
$ sudo dnf install -y akmods kernel-devel-5.14.10-300.fc35
You’ll see a lot of packages scroll by and then the development kernel package install:
Now install the Broadcom Wireless package:
$ sudo dnf install -y broadcom-wl
Now build the kernel module:
$ sudo akmods
Checking mods exist for 5.15.11-200.fc35.x86_64 [OK]
Now reboot your machine and you should be able to view the wireless driver (wl) with the following:
$ lsmod | grep wl
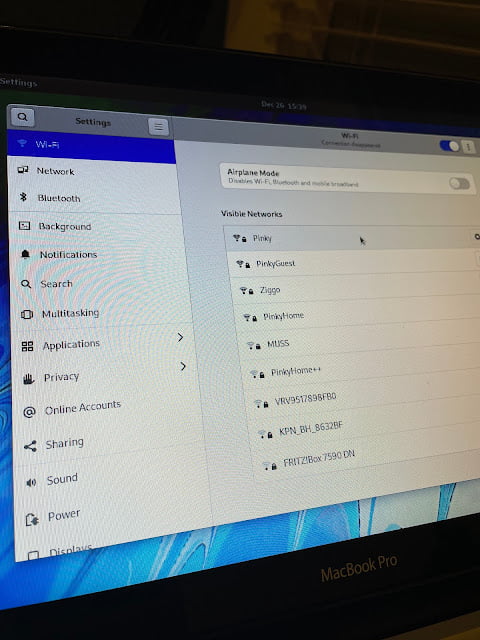
Now setup your wireless connection in Fedora:
Pretty straight forward if you were following along the last time, so hope you enjoyed this end of the year update to the latest Fedora on your old Macbook Pro 13 inch from late 2011!
Published on System Code Geeks with permission by Eric Schabell, partner at our SCG program. See the original article here: Installing Fedora 35 on Macbook Pro 13 inch (late 2011) Opinions expressed by System Code Geeks contributors are their own. |


